CLICK HERE FOR FREE BLOGGER TEMPLATES, LINK BUTTONS AND MORE! »

Friday, March 18, 2011

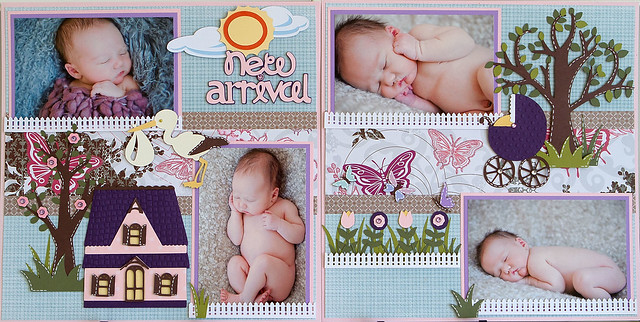
New Arrival

Finally! After a couple of years hiatus from scrapbooking, I finally completed a double page layout for Miss K's album. I love these photos taken by Fresh Sugar Photography! I can't believe my now 1.5 yr old was soo wee. Some days I really miss her being so tiny.
I used a ton of carts for this layout, (which I scraplifted from the talented Faith Abigail!) but it was well worth the effort. I even went and a bought a couple of things to be able to complete the layout (Tiny Texture and MS Fence Punch Edger).

For some reason my house is a bit crooked, but I think it adds a bit to the charm. :0)


Recipe:
Cricut Cartridges:
- Kate's ABCs (butterflies)
- Create a Critter (grass)
- Bloom (Flowers, Trees - love those trees!)
- Mickey Mouse & Friends (Clouds/Sun)
- New Arrival (Title, carriage)
- Sugar and Spice (Stork, House)

Embossing Folders - Tiny Texture (House), Tiny Bubbles (carriage)

And the tiny fence is a Martha Stewart Punch called "Fence".

All Papers are Stampin' Up - Chocolate Chip, Lavender Lace, Elegant Eggplant, Pretty in Pink, Pink Pirouette, Garden Green, Old Olive, Whisper White, Bashful Blue, So Safron, Only Orange. The Blue DSP is SU but I forget the name of the set it came from and the other two DSPs (butterflies and brown) I forget as well sorry!

Tuesday, March 1, 2011

Birthday Wishes

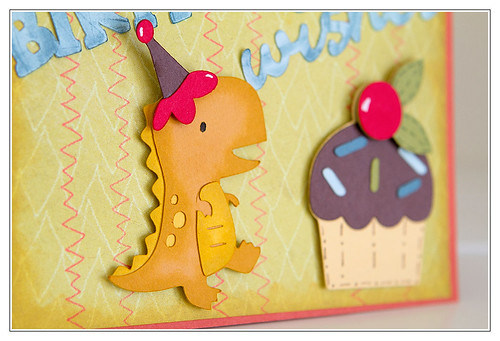
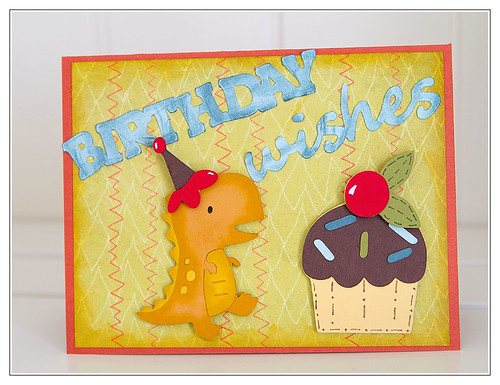
Let the Birthday Season begin. It's that time of year again where it seems all of N's little friends have a Birthday. I'm not sure just how many are having parties this year, but she has received 2 invites so far. This card is for a little boy who is turning 2. I changed it about a bazillion times before I finally settled on this design.

You know how the Gypsy is suppose to help you design on it and save paper? Umm yeah not so much with this particular card. hah
Recipe:
Stampin' Up Paper: So Saffron (cupcake base), Chocolate Chip (cupcake icing, party hat), Real Red (cherry, party hat trim/pom pom), Old Olive (Sprinkle & Leaves), More Mustard (dinosaur), Crushed Curry (Dino belly, spikes, spots), Dusty Durango (Card Base), Soft Sky (Title, Sprinkles), Blue Bayou (Sprinkles)
Designer Paper: Imaginisce - Dino Roar
SU Markers: Close to Cocoa, Old Olive
Ink: SU Blue Bayou (Title)
Cricut Carts: Birthday Bash, Create a Critter

Thursday, February 24, 2011

Elle

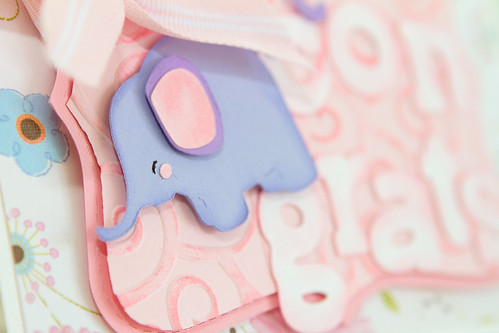
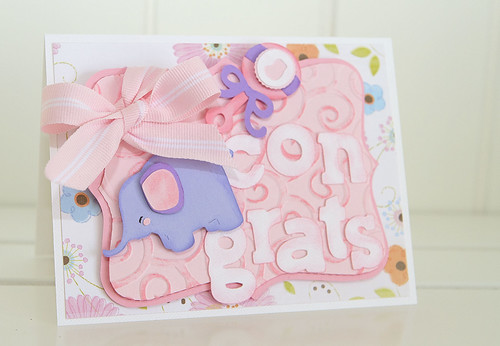
Look at me, all crafty lately. hah I made this card for a friend who is due in the next couple of weeks. She's having a little girl and has already picked her name, but I always worry people will change their minds once their baby is born, so instead of using her name I just put congrats on the card.


Recipe:

Stampin' Up Paper - Whisper White, Pretty in Pink, Pink Pirouette, Amethyst, Lavender and Lace
Designer paper - Enchanted (I forget by who!)
Inks: Pretty in Pink, Lavender and Lace
Ribbon: Pink Pirouette
Cricut Cartridges: Sugar and Spice (Lite), Birthday Bash (Font)
Embossing: Cuttlebug Swirls

Wednesday, February 23, 2011

Finished Page


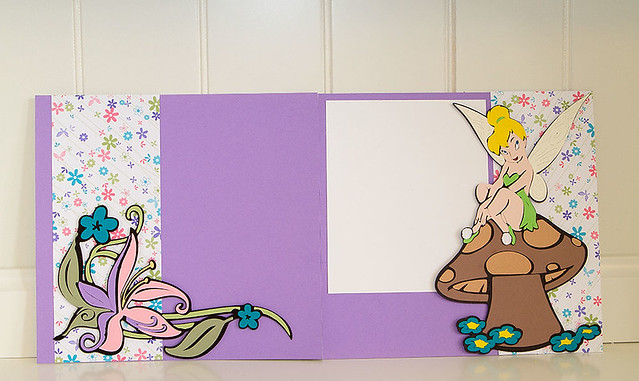
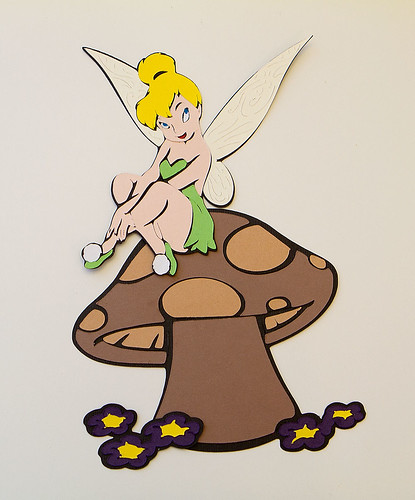
Much to my duaghter's delight, I finished my Tinkerbell Page yesterday. :0)

Monday, February 21, 2011

Tinkerbell - my first project in a loonngg time.

It's been a really long time since I've done anything crafty. Well that's actually a partial lie. A few weeks ago I did a Valentine's day card for my daughter to hand out at JK. It was pretty simple though and not anything so big.

Today, after running around like crazy yesterday after a week away, I spent the afternoon creating Tinkerbell with my brand new Cricut Expression. :D She's for a little project I have decided to start and hopefully finish.

I can't say she was a breeze to make, she is a ton of layers, many small cuts (people were not kidding when they said to make the Disney ones big or you'd pull your hair out trying to assemble them due to teeny cuts!) that made my head want to explode, but I persevered and completed her as well as adding a mushroom for her to sit on. Hopefully tomorrow I'll find the time while my youngest naps to do the actual page layout.

Saturday, October 10, 2009

Christmas Cards.

A couple of times now I've made cards for a friend. She owns an amazing business and once in a while will attend trade shows and request cards for her clippos. The last time I did Birthday cards for her and this time I did up 20 Christmas cards.

Since I have so much on the go (and did not want to turn down a great friend!) I chose a very simple layout/design. After digging through my craft "corner" and finding my tools, paper and stamps, I was able make up this card.

The stamp is from the set "Deer Friends" which was a hostess lvl 2 stamp set last yr. I loved it then and I still love the stamps in the set now. I will probably end up using a stamp from the set for my own Christmas cards. :0)

Ingredients:
Stamps: Deer Friends (hostess lvl 2)
Papers: Kiwi Kiss, Real Red, Ski Slope DSP, Whisper White
Tools: Scallop Punch, Circle Punches, 1/8" punch and random red ribbon from Michaels

Monday, October 5, 2009

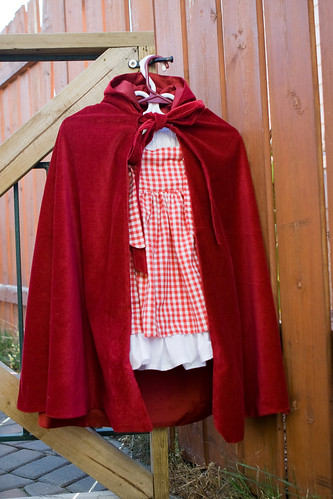
Little Red Riding Hood Costume Complete!

I don't think I can even express how happy I am that this costume if finally completed! It went from a project that I thought was going to be fairly easy, to something that got fairly complicated fast.

I've posted about the dress and over-skirt and how the pattern was not as comprehensive (at least I felt so) to doing the cloak, which really did not have much of a pattern to it at all.

The cape part of it was pretty easy, measure the length of my kid from her shoulders to where I wanted the cloak to end, cut on the fold, repeat for the lining, then sew both together. The hood though, well that was a whole other matter.

The pattern I followed for the cloak was for an adult, so the hood measurements were wayyyy too big. I then found one on Marthastewart.com, however, it was too small and when I increased the measurements, it looked a bit too KKK with such a pointy hat.

So after a few adjustments, guessing the measurements and doing a trial 'hood' bc my daughter was not being very cooperative about trying it on, I followed the directions on MS's site, but then curved the top of the hood so it was not pointy but rounded. :0)

Looking back on this project, it really was not that hard. The satin is a pain to sew bc it moves and I do not have a walking foot for my machine, and figuring out measurements was a bit mind boggling, but I'm pretty proud of how it turned out.

Details:
Peasant Dress or Top - I purchased the pattern from a seller on Etsy and bought 2m of white cotton fabric for I think 7.99 at my local fabric store. I had a bit left over but not a lot. I used a crazy amount of it on the ruffle along the bottom of the dress. I've debated adding lace to the sleeves, but I think it's fine as is. :0)

Over-skirt - I bought this pattern from the same seller as the peasant dress from. I bought 1.5m of Red Gingham Cotton Fabric at the same Local Fabric store. I had some left over, but not a lot. I think it was 12.99/m?

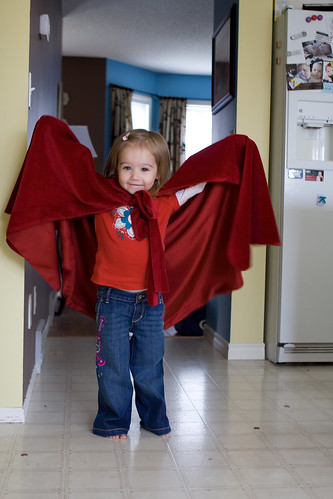
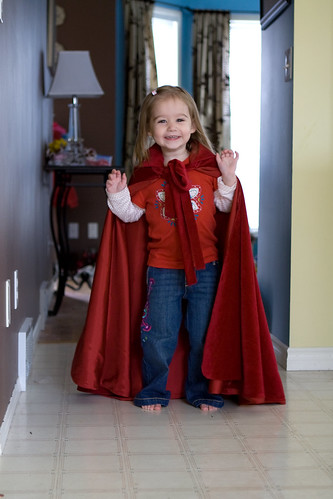
Cloak - I used both this pattern and this pattern and then in the end basically designed my own hood to suit my needs and fit Tasha's head. hah For the cloak I used a 36" length and 1/4" in seam. I bought a deep cranberry red velvet (2 metres) for the outer part of the cloak and then lined it with a deep red Satin(3 metres). I had to get more of the satin then I really wanted because it was only a width of 27" and I needed 36" so I was not able to fold it and cut it out. :0( Sewing the two fabrics together was a huge PITA because the satin is so slippery. I can't remember the price on the Velvet, I think $20/m? or the Satin. I spent way more then I wanted, but I knew I wanted a nice lush cloak. She loves wearing it so I figure it will be used for dress up after halloween. Of course today she was flying around the house with it on saying she was a super hero. haha

I had a bit of trouble with the ties on the cloak, but this morning was able to figure it out. I sewed the hood on to the velvet first, then turned it inside out, and sewed it again, leaving an opening to turn it right side out again. That's when I realized the excess fabric on the hood would work for casing in the tie. :0) I knew I had to do some sort of casing, but could not wrap my head around how to do it hem the hood in. hah Thankfully baby brain eased up and I figured it out.

Anywho, it's done and I could not be happier with the end result. :0) Some pics of the doodlebug in it. I did not have the energy to get her in the complete outfit (dress/over-skirt/cloak), but will be sure to get some pics on Halloween. :0)